What you will need:
1. Graph paper or some other paper with a scale and straight lines ideally - I'm always happy to send out my tracing forms. Most people will scan and e-mail the tracing so two 8.5x11 (standard letter size) pieces of graph paper taped together on the 11" side to make an 11x17" certainly works.
2. A flexible ruler or flexible curve - can be purchased in any office supply store in the drafting section or on amazon: https://smile.amazon.com/18-Inch-45cm-Flexible-Curve/dp/B005LIG06Y/ref=sr_1_4?ie=UTF8&qid=1468800831&sr=8-4&keywords=flexible+curve
3. A tool to put temporary marks on your horse's back. I use chalk on dark colored horses usually or painters tape on lighter colored horses - painters tape works on any of them though.
4. A pen and a short ruler (ruler optional but makes life easier - I have one thats about 6" long)
5. Away to take digital photos - phone photos work well!
Steps:
1. With your horse on a flat surface and as square as they will stay (front end is most important to be square - resting any legs is not OK) mark your horses back as seen in the picture below: You will want to identify rear/caudal edge of the scapula and mark that (with your tape or chalk), make a mark 2" back from the scapula, 5" back from the scapula, at the lowest point of the back and at the edge of the last rib where it meets the spine. (to find the last rib put your hand lightly in the hollow of the flack and bring it forward toward the shoulder, you should meet the last rib, follow the arc of the rib up close to the spine. Note the rib does not follow an arc all the way forward to the spine but rather straightens out a few inches from the spine).
2. Using your flexible curve you will drape the curve over the horses back at each of the marks behind the scapula and mold it to the back. Carefully remove each time and trace on to the graph paper. Trace the lowest border of the curve (the part touching the horse) and make sure you keep the right side on the right and the left on the left. Label each spot - I use A-D with A being closest to the scapula.
3. Again using your flexible curve straighten it out and hold it horizontal and as level as possible placing the 0" mark at the scapular mark and measuring the height of each subsequent location that you've traced both in height from the back to the flexible curve and from the 0" on the flexible curve. Remember the first two marks should be pretty close to 2" and 5". If you don't have a short ruler but have a pen with markings you can use this to "measure" the height. (unless you're very good at remember all of these numbers - write them down)
4. Now shape the flexible curve to the topline of your horse down the very middle of the spine. Again keeping the 0" mark at the level of the first mark indicating the back of the scapula. Carefully transfer this mold of the toppling to the graph paper marking where each of your tracings have been taken and making sure to keep the height from the horizontal as accurate as possible using your previous measurements. Mark on this line where each of your tracings were made (again ABCD works well).
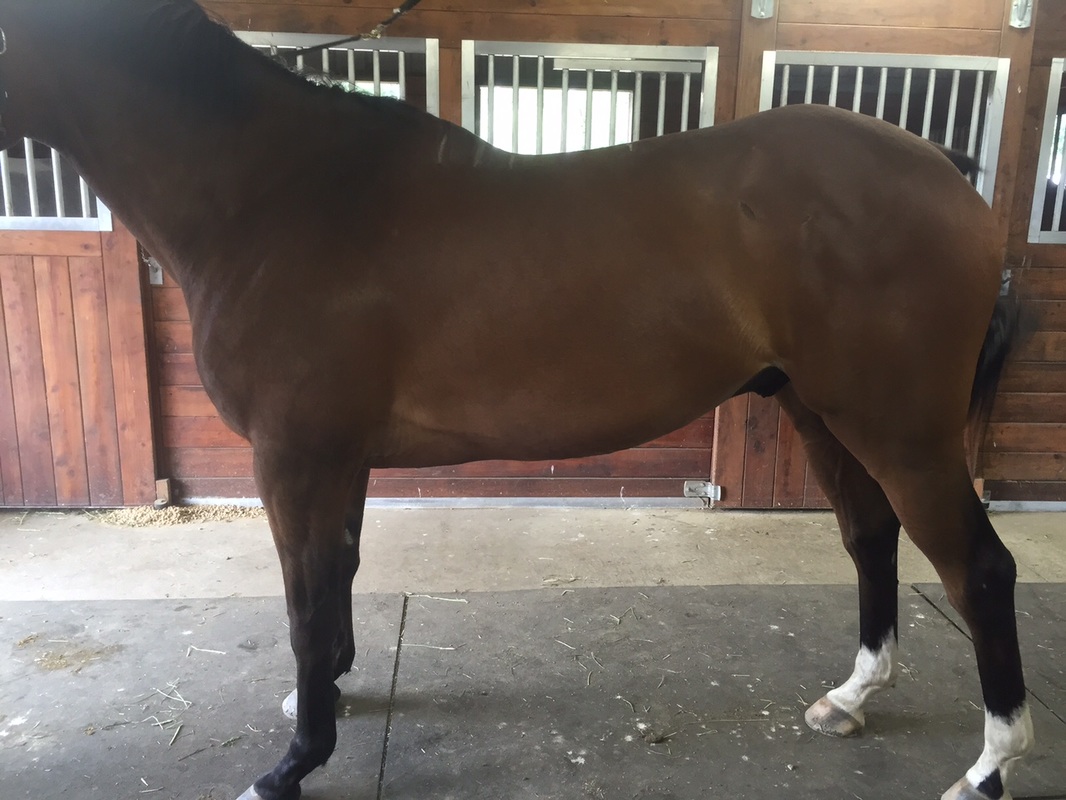
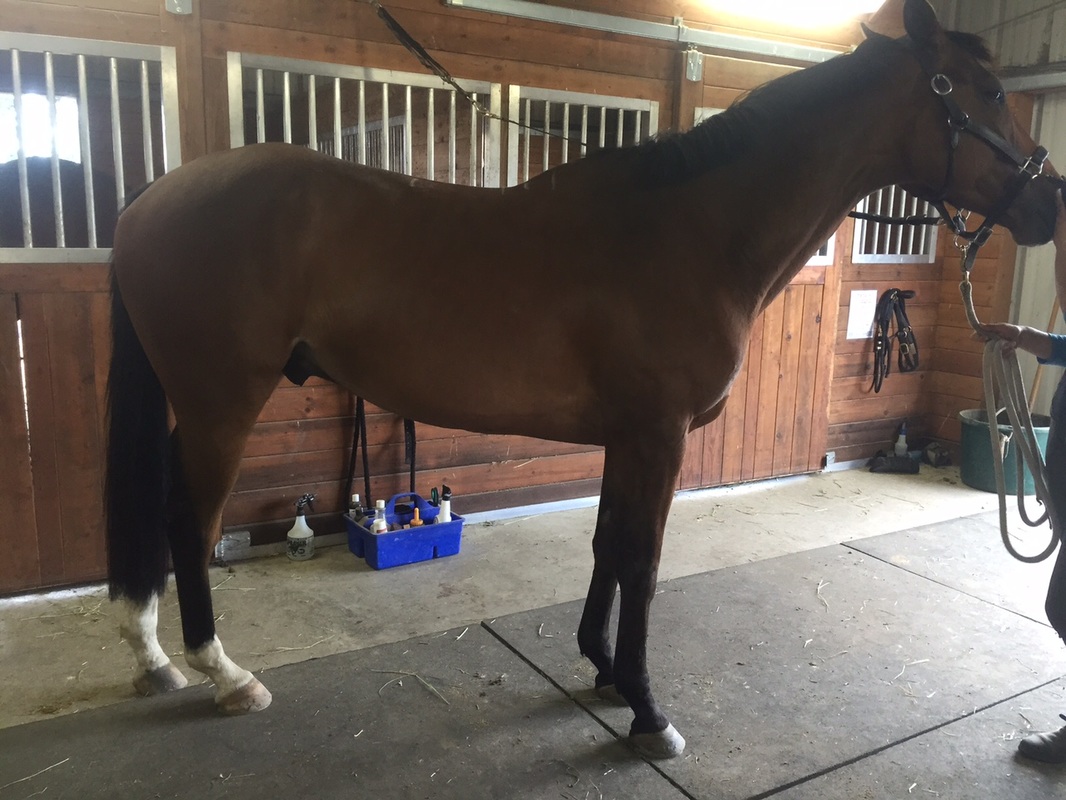
5. Congrats you've done your first tracing! Now just take some pictures - great if you take them with the markings still on the horse. Take one from each side and over the back from the highest point of the pelvis forward again trying to keep the horse on level ground and relatively square. These pictures just help us understand the general shape of your horse as tracings can be a bit hard to understand fully without the real world horse too.
See some examples of my tracings below and some of the pictures I've taken to have custom saddles made for clients.


 RSS Feed
